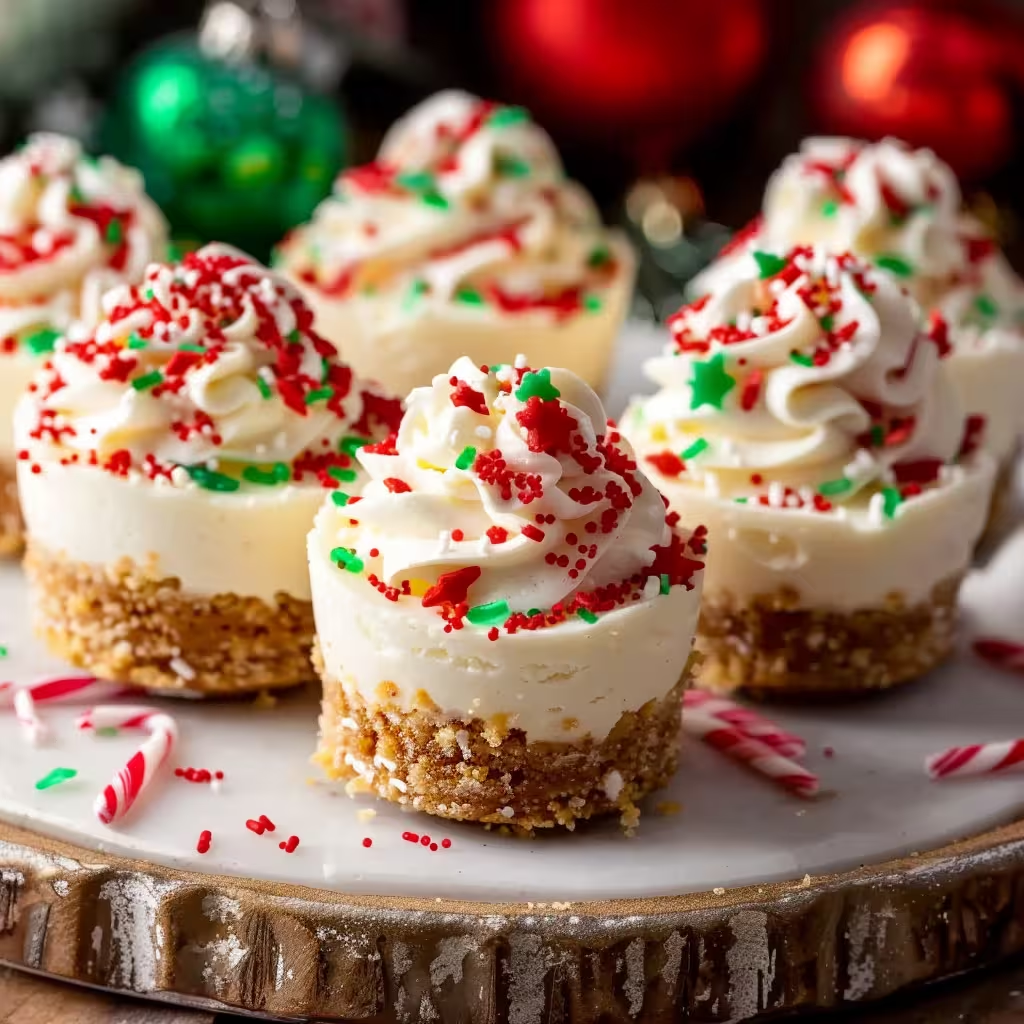
Prepare the Crust - In a medium bowl, thoroughly combine graham cracker crumbs, melted butter, and granulated sugar until the mixture resembles wet sand. The butter should be evenly distributed throughout the crumbs, creating a mixture that holds together when pressed between your fingers.
Form the Base - Take the graham cracker mixture and divide it evenly among mini cheesecake molds or cupcake liners, using approximately 1-2 tablespoons per mold. Using the back of a spoon or a flat-bottomed glass, firmly press the crumbs into the bottom of each mold to create a compact, even layer. Place the prepared crusts in the refrigerator to chill while preparing the filling.
Make the Cream Cheese Mixture - In a large mixing bowl, beat the softened cream cheese using an electric mixer on medium speed until completely smooth and free of lumps, about 2 minutes. Add the powdered sugar and continue beating until the mixture becomes light and creamy. Scrape down the sides of the bowl as needed to ensure even mixing.
Whip the Cream - In a separate clean bowl, combine the cold heavy cream and vanilla extract. Whip on medium-high speed until stiff peaks form – when the beaters are lifted, the cream should stand up in firm peaks without collapsing.
Combine the Filling - Using a rubber spatula, gently fold the whipped cream into the cream cheese mixture in several additions. Fold carefully using an under-and-over motion to maintain as much air as possible in the whipped cream, resulting in a light and fluffy cheesecake filling. Continue until the mixture is uniform with no white streaks remaining.
Fill the Molds - Spoon or pipe the cheesecake filling into each prepared crust, filling to just below the rim of each mold. For a more professional appearance, transfer the filling to a piping bag fitted with a large round tip and pipe into each mold. Smooth the tops with an offset spatula if desired.
Chill Until Set - Cover the mini cheesecakes loosely with plastic wrap and refrigerate for at least 4 hours or preferably overnight. This chilling time is crucial for the cheesecakes to set properly and develop the best flavor and texture.
Decorate and Serve - Just before serving, decorate the tops of each mini cheesecake with red and green sprinkles for a festive touch. If using, sprinkle some crushed candy canes on top for additional holiday flair and a hint of peppermint. Carefully remove from molds if using and serve chilled.